I’ve been using the new 2D Render Pipeline since a few months from now, so I thought that it would be a good idea to make a write up about how to set up a new project with it. Unity has already a sort of a setup guide done already in their docs, but I tried to include some stuff that I’ve found during the process of the setup and try to make it more of a visual guide, so I hope it is useful.
As they point out in the docs, if you want to use the 2D Pipeline yo should be at least in Unity 2019.2 or higher. I’m going to be using Unity 2019.3 for this tutorial.
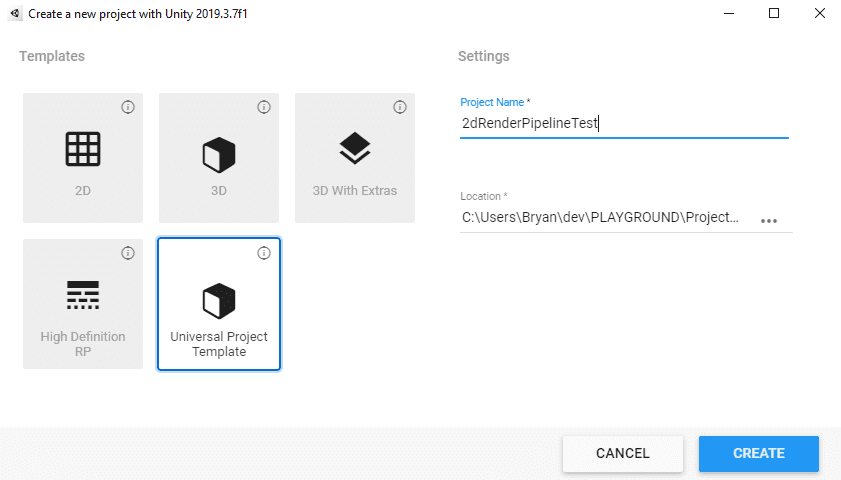
First go to Unity Hub and create a new URP Project. Remember that even though you are going to be making a 2D game, you should not choose a 2D template in here, as you won’t have installed the necessary packages for configuration.
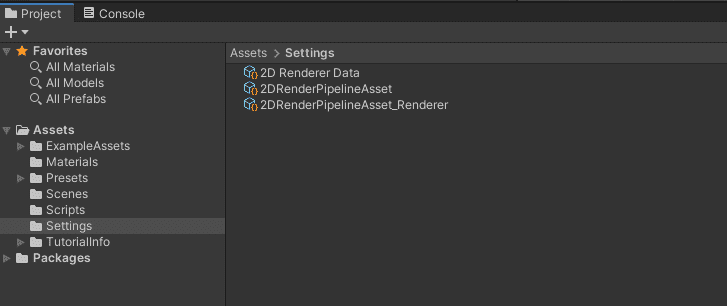
After the project is all setup, you can notice that you have a folder in your assets called Settings and it should look like this, these are all assets for the Universal Render Pipeline Configuration, we will get rid of all of them, as we need specific pipeline assets and renderer for the 2D pipeline. In theory you could leave the default files in there, but it has happened to me a couple of times when the assigned Pipeline in the Graphics Setting (which comes later in the tutorial) doesn’t pick up the new 2D Pipeline if those other Pipeline files are still in there.
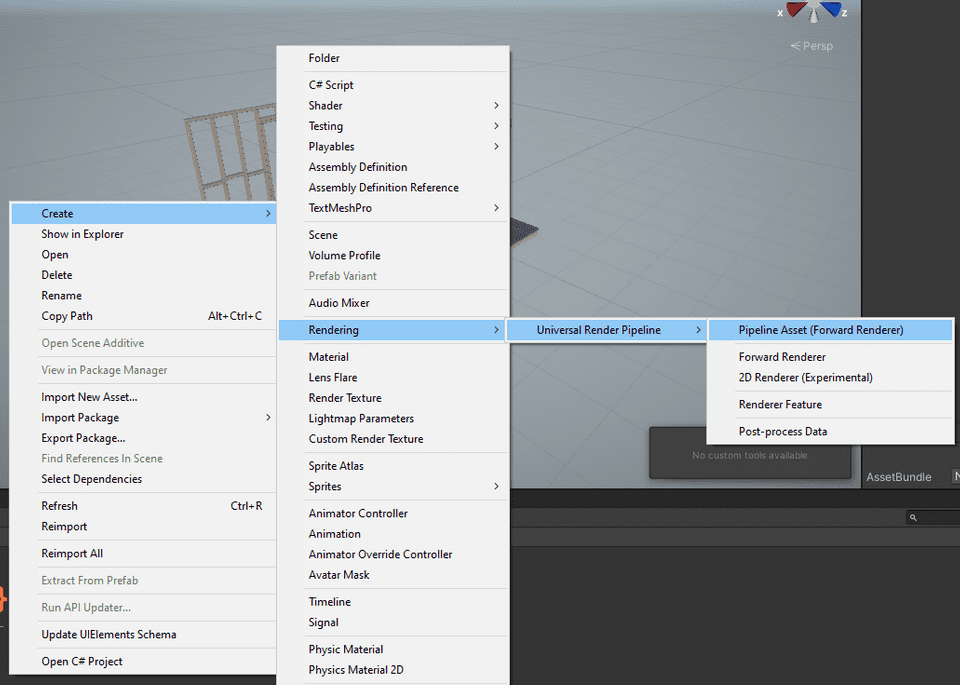
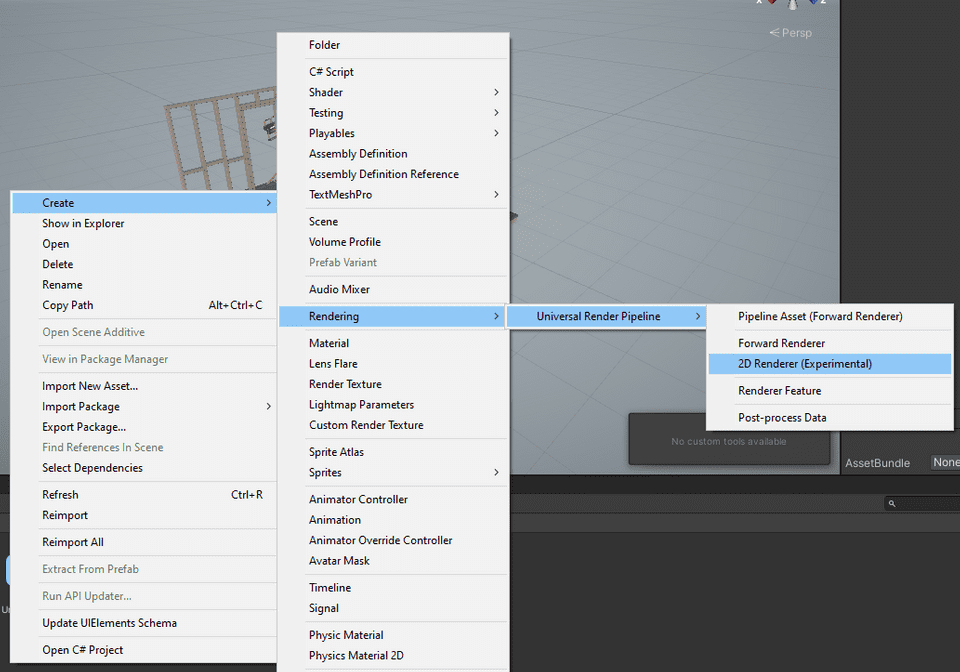
Now inside that folder, we have to create a new Pipeline Asset and a new 2D Renderer to configure our graphics pipeline. You can create them selecting the following items in the Assets/Create menu, that you can also access using the right click in the project window.
After creating them and removing the rest of the files that were in that folder by default, your Settings folder should look like this
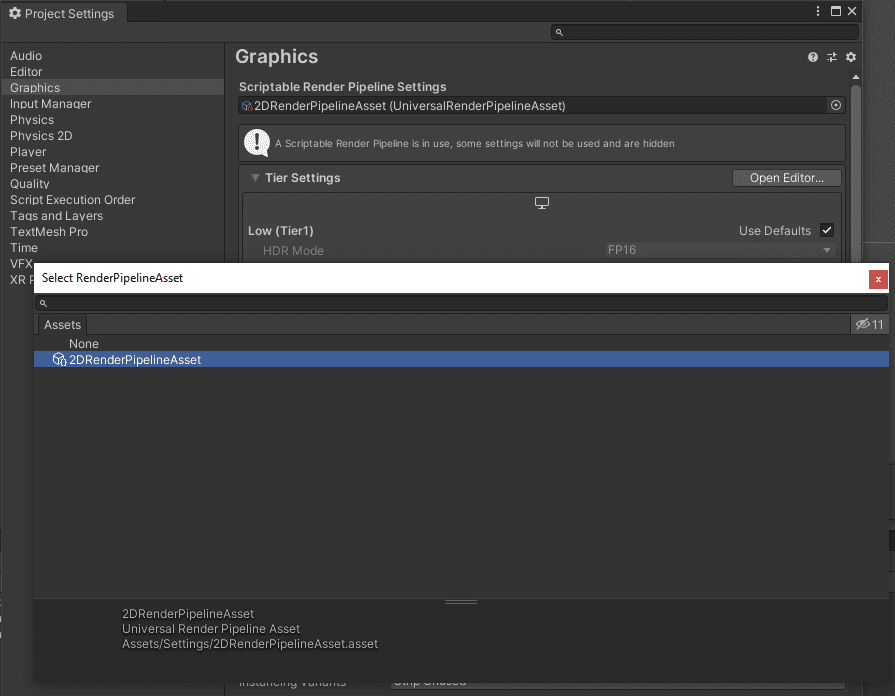
Now, go to the Edit/Project Settings menu, and select the Graphics section, and select your new 2d Render Pipeline Asset in the Scriptable Render Pipeline Settings field, like this
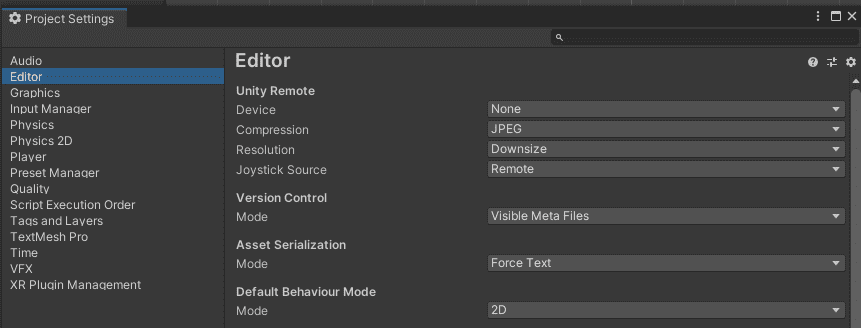
Additionally, something that I always ended up doing, but is completely optional, is configuring the whole project to be treated as a 2D Project in the editor, you can do this in the the same Project Settings window, like this
And that’s it! Now our project should be ready to start creating the game and make full use of the 2D Rendering Pipeline which includes the new 2D lights!
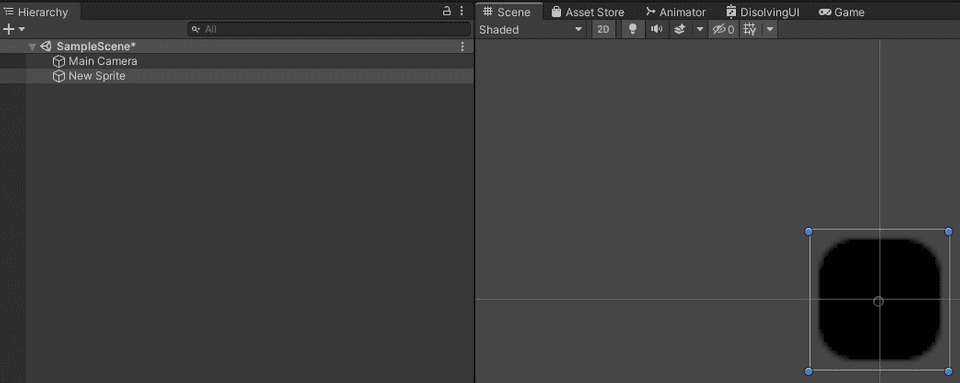
To make sure everything is in place, we are going to make a small test. Go and create a new sprite and assign it a random image, an it should look like this
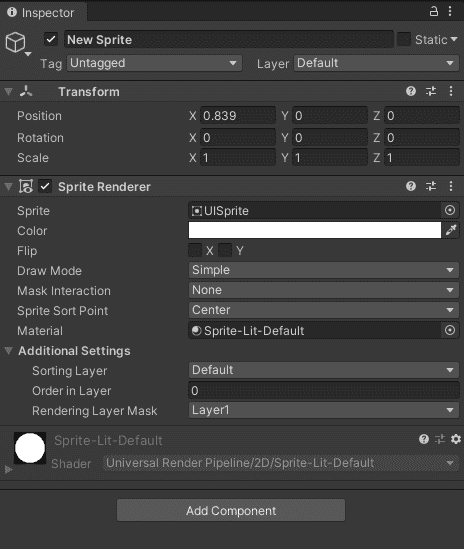
Even if the image has color, if you have activate the light settings in the scene view (the tiny lightbulb icon in the top of the scene view) the sprite should look completely black. This is because is using the new Default Lit material for sprites that makes it react to light, but as we don’t have any light in the scene yet, is just black. You can also double check that is using the right shader/material if you go to the Sprite Renderer inspecto and in the Material field it should have the Sprite-Lit-Default material assigned.
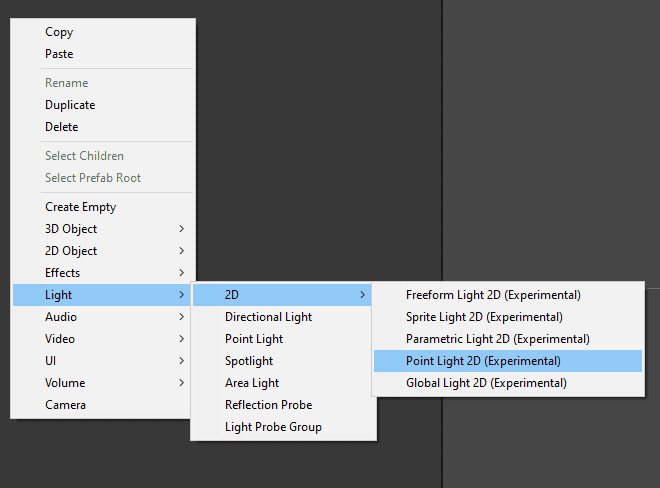
Next, add a new 2D Light game object to the scene, there is a lot of types of light that you can create, and you can check them out here, but for this example we will use a Point Light 2D.
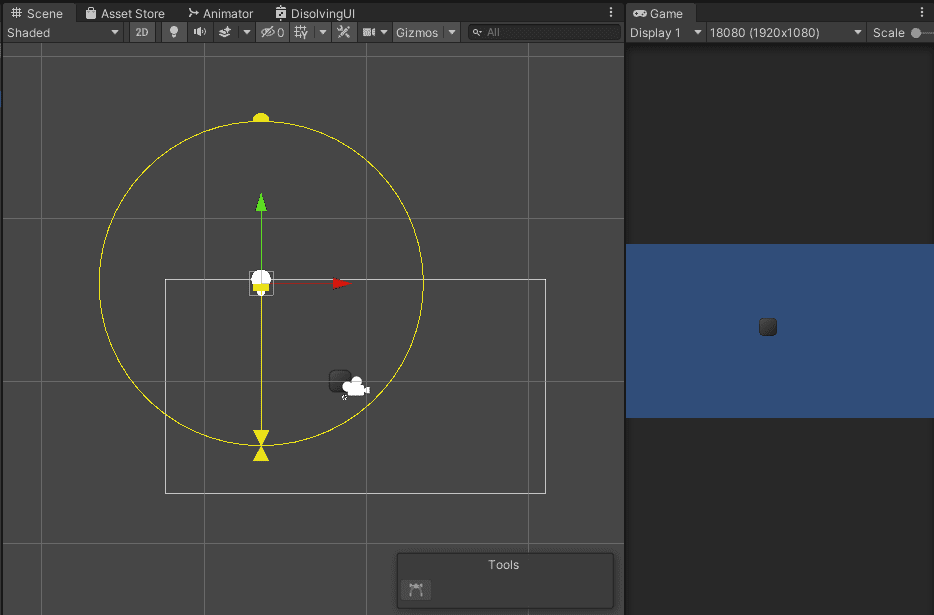
Now move your newly created 2D light near your sprite, and you should notice how it gets affected by the light!
This guide only covers newly created games, but let me know if you want to know how to move an existing 2D game to the new 2D Pipeline and I might write another one covering that topic. There is also a lot of things to do with the 2D lights like shadows and normal mapping so let me know if that’s something you would be interested in reading!
